Sometimes you just need to bring out the details of your rendering with deeper, darker shadows. Maybe it’s to accentuate the texture of the material or just darken the grooves and edges to make the highlights pop a little more. With KeyShot, it’s simple to both adjust the shadows and create a separate Ambient Occlusion pass you can use as a separate layer to composite your shot in Photoshop. We have a quick tip to show you how it’s done, walking through the creation of your own HDR to what material gives those rich, dark shadows.
Ambient Occlusion in KeyShot
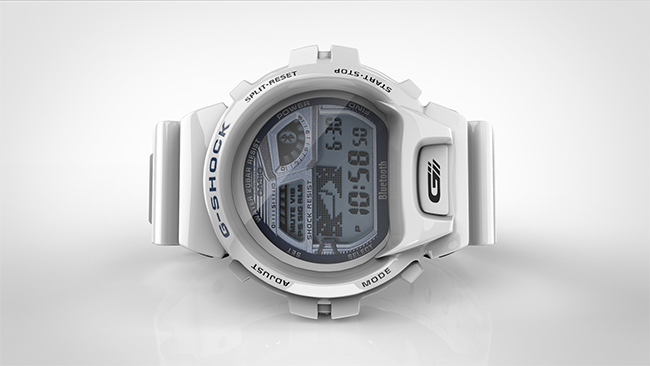
This quick tip describes the process of creating and applying an Ambient Occlusion (AO) pass to composite with your KeyShot rendering in Photoshop. First, you’ll get a look at the set-up of the scene, both with materials and material settings, how to create a nice screen reflection and what type of Studio HDR to use. Then, you’ll see how to bring out the shadows with the creation of an additional HDR. Duplicating the model, hiding the other model and changing the material of all parts to a white diffuse is the first step in KeyShot that gives you a high contrast pass. Here’s the full quick tip that walk you through the process.
